Create document exchange setting
- In the menu, expand Other Options > Cross Applications Support and double-click Document Exchange Maintenance. XAM160 Data Exchange panel appears. The existing document exchange settings are displayed.
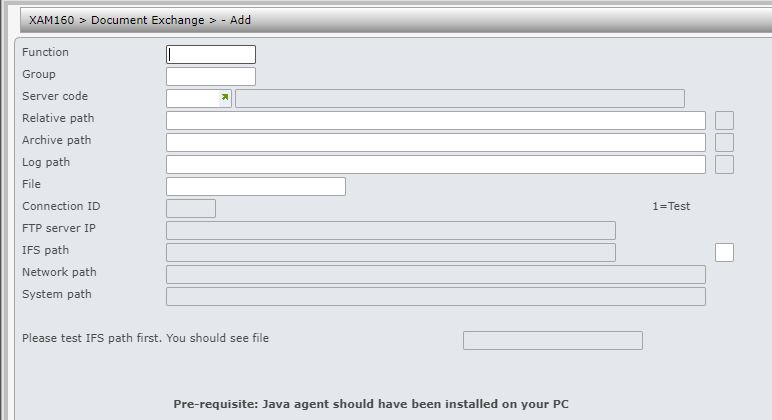
- Click Add to create a new document exchange setting.
| Field | Description | ||
| Function | Enter either a valid program ID or the first few characters of either the module or the program ID e.g. RY******** to allow the same network path for a group of functions. To catch all functions enter ‘********’. There is no search facility for this field. The system will get the best match for the function by counting the number of characters from the left. Example for function RYO053, if the document exchange setup is: RYR******* ********** RY********* AU then RY********* will match using the first 2 characters (RY). RYR******* does not match. |
||
| Group | This is the user group applicable for the above function. use the search facility to select the required user group. | ||
| Server code | The server code for the server where the documents will reside. It is validated against ********/DE-SVR. | ||
| Relative path | Directory on the server for the selected function/s. | ||
| Archive path | Archive path is the directory where the documents can be moved to after schedule upload with no errors. | ||
| Log path | Log path is the directory where the documents can be moved to after schedule upload with has errors. | ||
| Test |
This allows testing access to all folders involved. To test access to IFS path enter ‘1’ for Test and click OK. Similarly to test for network OR system path, enter ‘1’ for Test and click OK. When Test is selected for the type of extract, the file will generate in test mode.
|
- Enter the above information as required and click OK. New document exchange is added.
